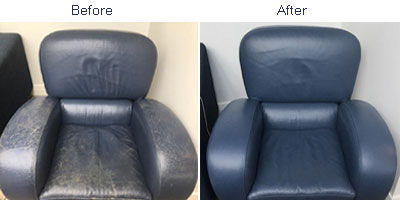
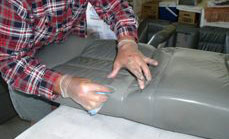
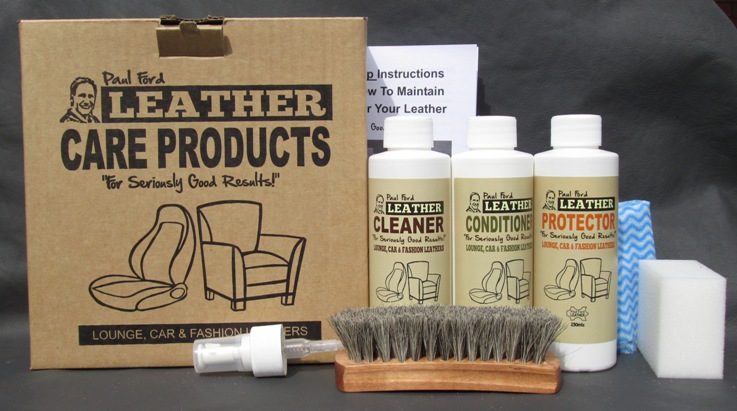
Leather Care Products ... For Sealed, Top-Finished Leathers
Commercial grade leather care products for cleaning and conditioning upholstery leather in cars, lounge and office furniture.
"These are the care products I use for professional leather care work."
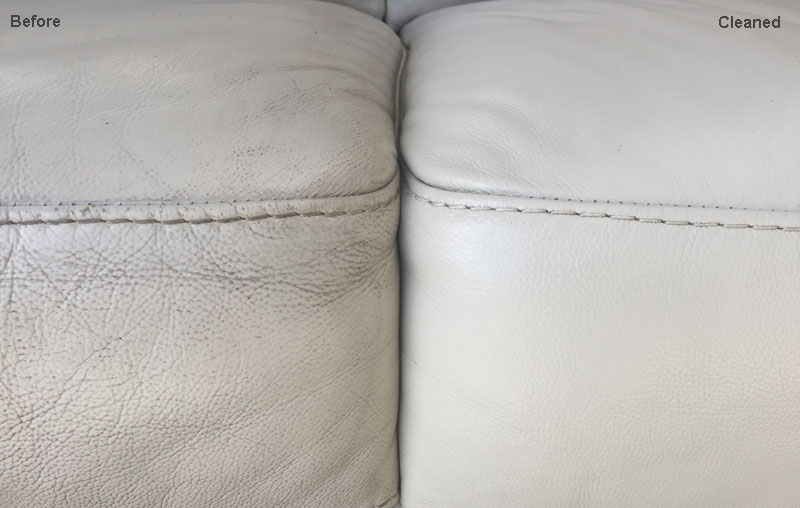
Contents:
Care Product Benefits ...
- Made right here in NZ ... so we know exactly what's in it.
- All products are water soluable, biodegradable and non-toxic
- Contains a small amount of antimould to help prevent mould growing
- The leather cleaner is professional strength and easily remove soiling and dirt from the leather surface.
- Being pH balanced, it will not harm the finish or remove any of the natural oils.
- The leather conditioner is made with the same natural oils used in the tannery and will replenish the natural oils and moisture which have evaporated.
- The leather proctor will improve rub fastness and leave your leather with a natural soft silky feel.
Leather care products designed to work together as complete leather care system ... with each one doing a very specific job and doing it extremely well.
Choose From One Of The Following Options ...
OPTION 1 -
The Full Works!
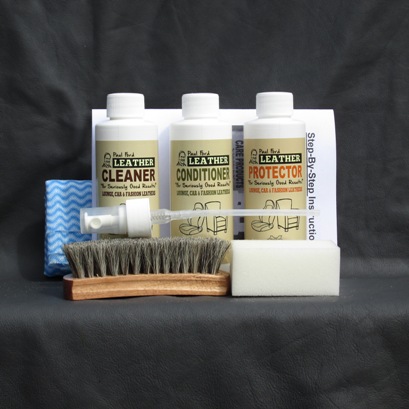
Triple Pack Leather Care Kit
Retail: $94
Price Today: $87.00
This care kit contains everything you'll need for cleaning, conditioning and protecting your leather.
Ideal for top-finished and semi-aniline leathers.
Contents:
- 1 x 250 ml cleaner
- 1 x 250 ml conditioner
- 1 x 250 ml protector
- 1 x foam cleaning pad
- 1 x spray applicator
- 1 x brush
- 2 x Application cloths (only 1 shown)
OPTION 2 -
For Leather Which Doesn't Need To Be Conditioned
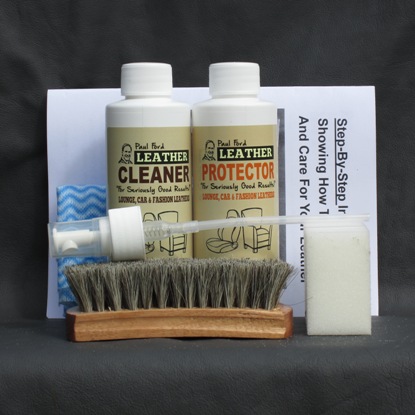
Twin Pack Leather Care Kit
Price: $65.00
The difference between this kit and the triple pack is, this kit doesn't have the conditioner.
This kit is ideal for cleaning and protecting new and near new leather and also artificial leathers where the conditioner cannot penetrate such as: bicast,PU and vinyl type substrates.
Contents:
- 1 x 250 ml cleaner
- 1 x 250 ml protector
- 1 x foam cleaning pad
- 1 x spray applicator
- 1 x brush
- 1 x Application cloth
Leather Care Instructions ...
IMPORTANT ...
- Know your leather type BEFORE using
- Not tested on suede or nubuck leathers
- Please do not substitute any of these products with another brand. This is a complete self-contained system with each product compatible with the others.
How to use the leather cleaner for cleaning car, lounge and upholstery leathers. Made in NZ and used by professional leather specialists.
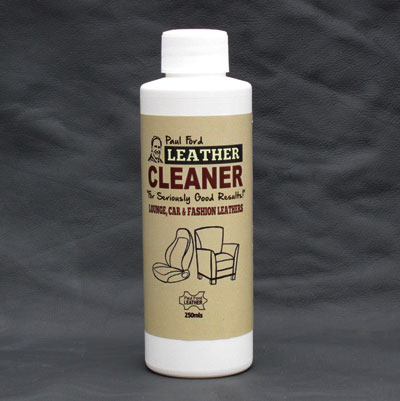 Before using the leather cleaner for the first time, always check in a hidden area for colour fastness.
To do this, apply some cleaner to the leather and while still wet, give 10 to 15 firm rubs with a clean white cloth making sure there is no excessive colour removal or colour change to your leather before doing any overall cleaning.
STEP 1: Vacuum away any loose dirt and dust with a soft brush vacuum head.
STEP 2: You'll need a bucket with clean water, a small towel or face cloth and some clean dry towels.
STEP 3: Dip the brush (for deep cleaning) or the sponge provided (gentle cleaning of delicate or antiqued leathers), flick off the excess water.
STEP 4: Working on 1 section at a time, spray the leather cleaner onto the leather.
STEP 5: Thoroughly brush the leather to form a lather and while still wet, wipe away the residue with a water dampened towel or cloth.
STEP 6: Rinse the towel or cloth in the bucket of water then lightly dry the area with your clean towel. For stubborn dirt, you can do another application.
STEP 7: Repeat over another section.
Leave the leather to dry naturally before applying the Conditioner or Protector.
Leather Cleaning Notes:
The Leather BRUSH is ideal for deep cleaning leather with a grain and will give the best results whereas the sponge is best for delicate leathers such as: 2-tone, mottled, or antiqued leathers.
WARNING: Before cleaning mottled or 2 tone leathers, here's what you need to know...
As these leathers get older, the protective clear sealer wears away exposing the darker print colour (antique or mottle colour) which, in my experience, is often quite unstable and can easily be removed with the mildest of cleaners ... and sometimes even water.
So you need to be very careful with areas such as arms and seat cushions, where the most wear has occured.
The best way to clean these unstable areas is to lightly lather with the water dampened sponge and leather cleaner, then gently wipe away the residue with a soft clean cloth.
Stop cleaning if the print colour is easily removed. The colour is too unstable and leather will need to be re-sealed by a professional.
The leather conditioner is used to treat areas which are starting to dry out and lose flexibility. Made from same conditioners used in tannery for new leather. Can be used on car, lounge and other upholstery leathers.
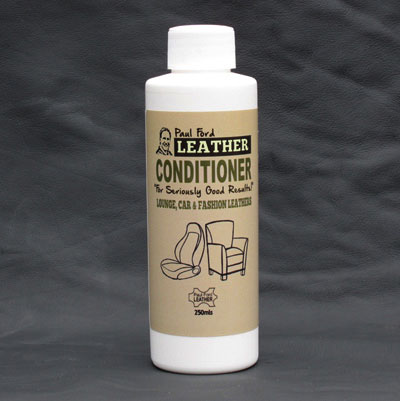
(The conditioner is only in the TRIPLE PACK. If you have the twin pack, go to the Protector.)
Don't use the conditioner until the leather has been thoroughly cleaned with the leather cleaner. This open the pores of the leather allowing the conditioner to penetrate more easily.
STEP 1: Apply a generous amount of conditioner into a soft cloth and wipe evenly over the leather leaving overnight to soak in.
STEP 2: If your leather need more conditioning, reapply then leave again, overnight.
STEP 3: The conditioner can sometimes leave a glossy, patchy residue. Where the leather is dull, the conditioner has fully penetrated, whereas the shiny areas are where it hasn't fully soaked in yet. You can either leave for a couple of days for it's work to be completed or simply wipe over the leather with a damp cloth to even it out the sheen and then dry with a clean towel.
When leather is dry, apply the leather protector.
Notes About The Conditioner
The rate of penetration can vary a lot depending on the density, condition and type of finish of leather.
For older car seats or leather which has gone stiff and boardy, you can do 2 or 3 more applications of the conditioner.
The protector is the final step after cleaning and conditioning and will result in your leather feeling warm and natural as well as sealing in the conditioner.
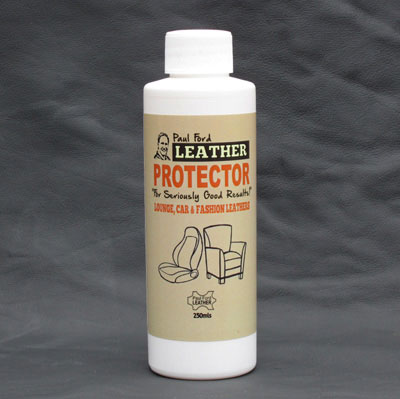
Before using the protector, you need to make sure the leather has been thoroughly cleaned with the leather cleaner, and conditioned, if you are using the leather conditioner.
STEP 1: Apply a generous amount of leather protector onto a clean, soft cloth.
STEP 2: Wipe evenly over one section at a time.
STEP 3: Leave to dry for 1 hour.
STEP 4: On high wear areas such as seat cushions, arms and inside backs, you can apply a second application for extra protection.


